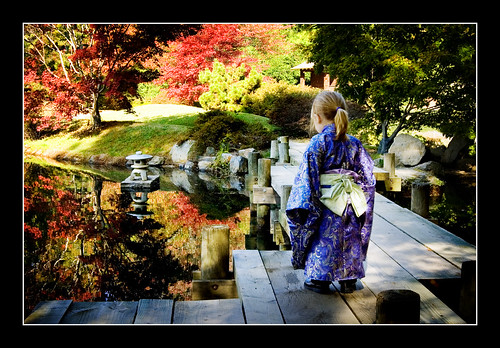
I simply love Japanese food. Love it. The hardest thing to give up during my pregancy wasn't the alcohol, and it wasn't the caffeine. It was the freaking raw fish of all things! I think I could survive on tuna rolls alone. Except there's one problem. Dear sweet husband despises sushi. He hates every part of it from the cucumber to the nori. Why do they have to put vinegar in everything, he asks. So he doesn't like it translates into I don't get to eat it very often.
I've known dear sweet husband for almost eight years now. And our entire time together I've been wearing him down...it's one of my missions in life to get him to enjoy Japanese food. It been a slow process, but I have a few victories under my belt.
Victory Number One: Sashimi. Who would have guessed that he would enjoy plain raw fish? Huh.
Victory Number Two: Gyoza.
What is gyoza? These beautiful, dainty little japanese dumplings are now one of our family's favorite foods. Even our three year old absolutely loves them! We probably make them or order them a few times a month. Sometimes we buy the frozen potstickers at Costco made by
Ling-Ling Sometimes we order take-out. But if we're feeling up for some time-consuming, frustrating, make you want to throw food at your spouse in your too-small-for-two-and-a-half-cooks-kitchen, we make them from scratch. Really though, it is a lot of fun to make. Promise.
Here are some instructions with some pictures in case you want to have some of the big fun describe above. *smile*
Equipment you will need:large saucepan, with a lid (or bamboo steamer and wok)
Steamer basket thingie (kind that opens up and you place in the bottom of the pan)
Non-stick frying pan
Dumpling Press (optional)
Aluminum Foil (or greaseproof paper if you're using the bamboo steamer)
Bowl of water for sealing dumplings
IngredientsFilling Options:Ground Pork
Shrimp
Veggie - any combination of asparagus, broccoli, mushrooms, cabbage, water chestnuts, etc. Be creative.
Soy Sauce
Rice Vinegar
Sesame Oil
Fresh Ginger
Scallions
Dumpling Wrappers
Vegetable Oil
*the key below is preparation and organization!*
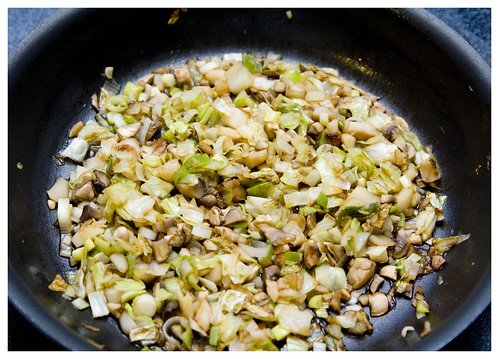
(1) Prepare the fillings. I used only one filling, but you could make a variety, some meatless, etc. I used ground pork, cabbage, mushrooms and scallions. I diced up the veggies and sauteed them. Then I let the mixture cool. Once cool I combined the mixture with a pound and a half of ground pork, soy sauce and rice vinegar (about 2 tbs each), a couple dashes of sesame oil, 1 tbs minced fresh ginger, and 1/4 cups finely diced water shestnuts.
 (2) Prepare the dipping sauce(s).
I use a combination of soy sauce, freshly grated ginger, dash of sesame oil or hot chili oil, and rice vinegar. Other asian dipping sauces are an option as well.
(3) Prepare wrappers. I buy the wrappers in the store (usually in the veggie/salad section with the tofu. Sometimes I can find dumpling wrappers (usually round) but often I have to buy wonton wrappers (square or slightly regtangular). Another option is to make from scratch, but that's too much work for me. The wrappers dry out very quickly, so only pull the wrappers out of their package as you go. I usually pull out about ten at a time.
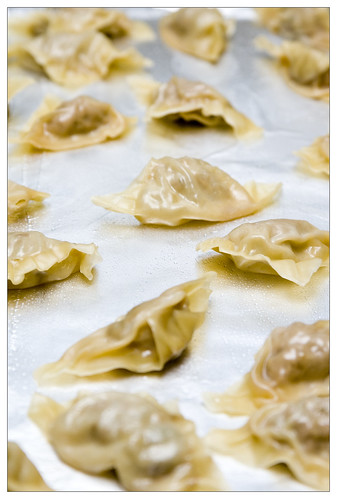
 (4) Fill wrappers.
Spoon out about a tbs. of filling and place in the center of the wrapper. Dip finger in water and wipe water around edges of wrapper to seal. Fold in half and pinch edges together. Now there is a fine art of gyoza presentation, with fancy pleated folds. I'm lazy so I skip that step. I use the handy dumpling press seen above. It's not as pretty as doing it by hand, but it works for me. If you're using the press, place folded dumpling in center of press, and well...press. See? Easy. As each dumpling is finished, dot a little vegetable oil on the bottom and lay on a non-stick surface. I use a sheet of aluminum foil.
(5) Steam the dumplings. I don't have a
bamboo steamer(on my fancy kitchen gadget want list) so I used a regular deep-sided pan and a steamer basket. I line the basket with lightly oiled aluminum foil poked with holes. Works fine.
Place the dumplings in the steamer pan and cover with lid, being careful not to let them touch. They will stick together like glue, and you will get a mangled mess of meat and dough, resembling nothing close to a dumpling. Depending on the filling, steam for about 12 mintues. Pork takes the longest, and I usually steam them for about 15 minutes. Once they are done steaming I transfer them back to the foil to await their turn in the frying pan to crisp.
 (6) Pan-fry
This step is optional. We don't mind steamed dumplings, but we much prefer the crispy goodness a hot frying pan and a little oil brings. Again, be careful not to let them touch. This step just takes a couple minutes on each side.
 (7) Combine dumplings with sake and chopsticks and enjoy!
*I won't even tell you how long it took to finish this post, so I hope I've at least inspired one of you to try making gyoza!!*